
Correct installation method of thermally conductive silicone pad
Thermal silicone pads are important components in electronic devices and systems as they help dissipate heat and maintain optimal operating temperatures. Proper installation of these pads is critical to ensuring efficient heat transfer and overall performance of your electronic device. In this article, we will discuss the proper installation method for thermally conductive silicone pads to maximize their effectiveness and longevity.
1. Clean the surface: Before installing the thermal silicone pad, it is very important to clean the surface where the thermal silicone pad is placed. Use a mild solvent or alcohol to remove dust, dirt or residue from the surface. This will ensure proper adhesion and thermal conductivity between the pad and component.
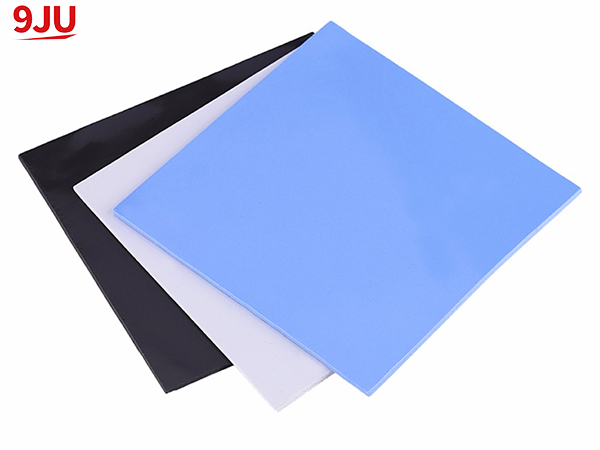
2. Cut the pad to the appropriate size: Thermal silicone pads are usually available in large sheets or rolls and will need to be cut to the appropriate size for your specific application. Use a sharp utility knife or scissors to cut the pads to the exact dimensions required for the component or device. It is important to ensure that the pads fit snugly and cover the entire area that requires thermal management.
3. Tear off the protective film: Most thermally conductive silicone pads come with a protective film on one or both sides to prevent contamination and damage during transportation. Carefully peel off the protective film from the side in contact with the component. Avoid touching exposed surfaces to prevent the transfer of oil or debris from your skin.
4. Place the gasket: After cleaning the surface and cutting the gasket to the appropriate size, carefully place the thermal silicone pad onto the component or heat sink. Make sure the pads are accurately positioned and cover the entire area that needs thermal management. Press the pad lightly to ensure good contact with the surface.
5. Apply pressure: After placing the mat, apply gentle pressure to ensure proper adhesion. This can be done using a roller or by pressing firmly with your hands. The goal is to eliminate any air pockets and ensure adequate pad contact with the surface for efficient heat transfer.
6. Secure components: If using thermally conductive silicone pads to connect components to the heat sink, make sure the components are securely fastened together. This will help keep the pressure on the pad consistent and optimize thermal conductivity.
7. Test for proper contact: After installing the pads, it is important to test for proper contact and thermal conductivity. This can be done using thermal imaging equipment or by monitoring the temperature of components during operation. If there are any hot spots or uneven temperature distribution, re-evaluate the installation and make any necessary adjustments.
8. Reapplication and Replacement: Over time, thermal silicone pads may wear out and need to be reinstalled or replaced. When reapplying or replacing brake pads, be sure to follow the same installation method to ensure optimal performance and reliability.
In summary, the correct installation method of thermally conductive silicone pads is critical to maintaining thermal management of electronic components and systems. By following the above steps, electronics manufacturers and technicians can ensure that the pads are installed correctly, allowing for efficient heat dissipation and improved overall performance. Proper installation not only maximizes the effectiveness of thermal silicone pads, but also extends the life of your electronic equipment.
Post time: Jun-24-2024