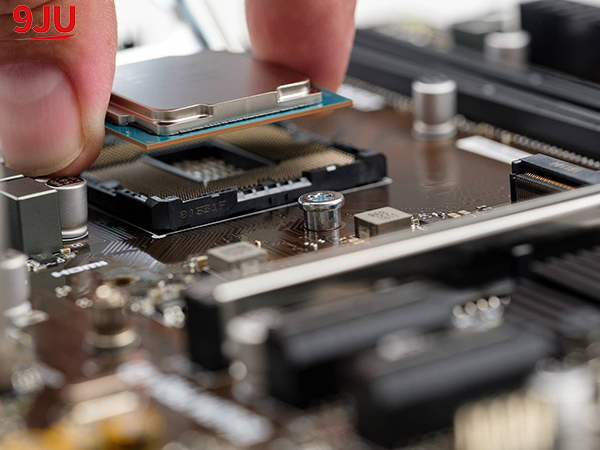
In an age where technology plays an integral role in our daily lives, it’s increasingly important to understand the basics of computer maintenance and troubleshooting. A common task faced by computer enthusiasts and professionals is removing thermal paste from their processors. While this may seem like a trivial thing, it’s a task that requires careful execution and attention to detail.
Thermal paste, also known as thermal compound or thermal grease, is a substance used to improve heat transfer between the central processing unit (CPU) and the heat sink. It fills the tiny gaps and imperfections on the surface of the CPU and heat sink, ensuring optimal heat conduction. However, over time, this paste can degrade, dry out, or become contaminated, reducing its effectiveness. Therefore, regular replacement is required.
Removing thermal paste from a CPU involves a series of steps that need to be performed precisely. First, it is crucial to power off your computer and disconnect it from any power source to prevent any accidental damage. Once you have access to the CPU assembly, the next step is to remove the heatsink. This is usually done by loosening and unscrewing the mounting screws or clamps that hold it in place.
After successfully removing the heatsink, the next challenge is to remove the thermal paste from the CPU. It is important to use caution during this step to avoid any damage that could compromise the integrity of the processor. First, it is recommended to wipe off the excess paste with a lint-free cloth or coffee filter. Next, a high-concentration isopropyl alcohol or specialized thermal paste remover can be applied to a cloth or filter to make it easier to remove any remaining residue.
When using alcohol or degreaser, always make sure it does not come into direct contact with any other components on the motherboard as this may cause damage. Use a rag or filter to gently wipe the CPU surface in a circular motion to help effectively remove the thermal paste. This process may need to be repeated several times until the CPU is completely clean.
After successfully removing the thermal paste, the CPU must be allowed to dry completely before a new layer can be applied. This ensures that there won’t be any residual alcohol or degreaser that can interfere with the new thermal compound. Once the CPU is dry, you can apply a small amount of fresh thermal paste to the center of the processor and carefully reinstall the heatsink so that it is evenly distributed.
In summary, while the process of removing thermal paste from a CPU may seem simple, it must be done with care. Maintaining proper cooling and heat dissipation is critical to the longevity and optimal performance of your computer system. By following the necessary steps above, individuals can ensure that their processor is clean and ready to withstand the demands of modern computing.
Post time: Nov-13-2023


