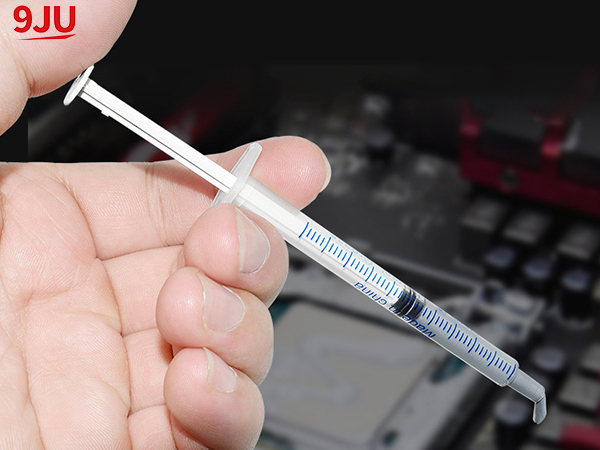
To ensure optimal performance and prevent overheating, computer enthusiasts and DIY builders must properly apply thermal paste to their CPU. In this step-by-step guide, we’ll walk you through the process of achieving efficient heat transfer and maintaining the overall health of your computer system.
Step 1: Prepare the surface
First, take a microfiber cloth and moisten it with a small amount of 99% isopropyl alcohol solution. Gently clean the surfaces of the CPU and heat sink to remove dust, old thermal paste residue, or debris. Make sure both surfaces are completely dry before proceeding to the next step.
Step 2: Apply thermal paste
Now, it’s time to apply thermal paste. Remember, you only need a small amount to adequately cover the surface. Depending on the type of thermal paste you have, the application method may vary:
- Method 1: Pea method
A. Squeeze a pea-sized amount of thermal paste onto the center of the CPU.
b. Gently place the heat sink on the CPU so that the solder paste is evenly distributed under pressure.
C. Secure the radiator securely according to the manufacturer’s instructions.
- Method 2: Straight line method
A. Apply a thin line of thermal paste along the center of the CPU.
b. Gently place the heat sink on the CPU, making sure the traces are evenly spaced.
C. Secure the radiator securely according to the manufacturer’s instructions.
Step 3: Apply thermal paste
No matter which method you choose, it is important to ensure that the thermal paste is completely distributed on the surface of the CPU. To do this, gently twist and wiggle the radiator back and forth for a few seconds. This action will promote even distribution of the paste, eliminating any air pockets and forming a thin, consistent layer.
Step 4: Secure the Radiator
After evenly applying thermal paste, secure the heat sink according to the manufacturer’s instructions. It is important not to overtighten the screws as this may cause pressure imbalance and uneven solder paste distribution. Instead, tighten the screws in a diagonal pattern to ensure even pressure distribution.
Step 5: Verify thermal paste application
After the heat sink is secured, visually inspect the area to confirm proper distribution of thermal paste. Check to see if there is a thin, even layer covering the entire CPU surface. If necessary, you can reapply the paste and repeat the process for optimal coverage.
Post time: Nov-07-2023


